
We may earn money or products from the companies mentioned in this post.
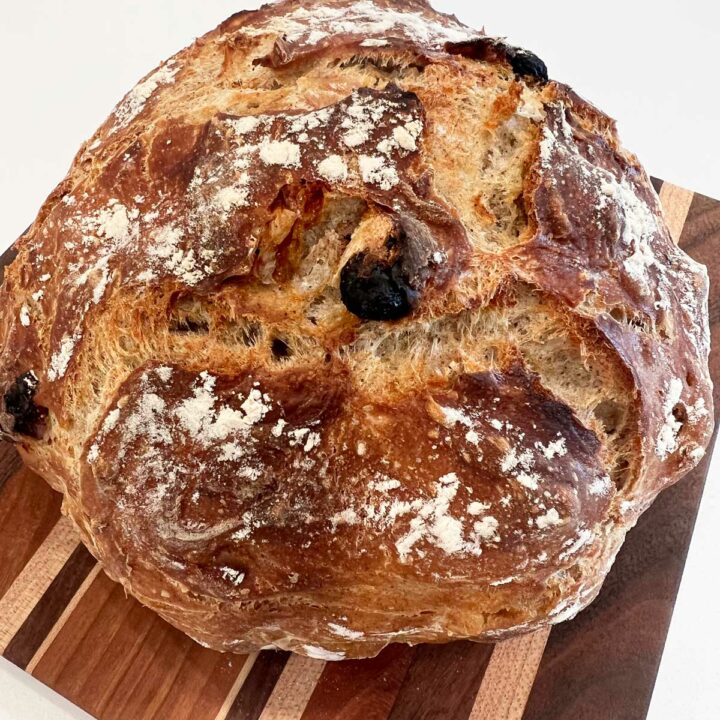
This no-knead cinnamon raisin bread recipe is so easy and so beautiful that people will think you purchased your loaf from an artisan bread bakery! It is one of our favorite bread recipes, using just a few simple ingredients that you likely already have in your kitchen. Let us show you how EASY it can be!
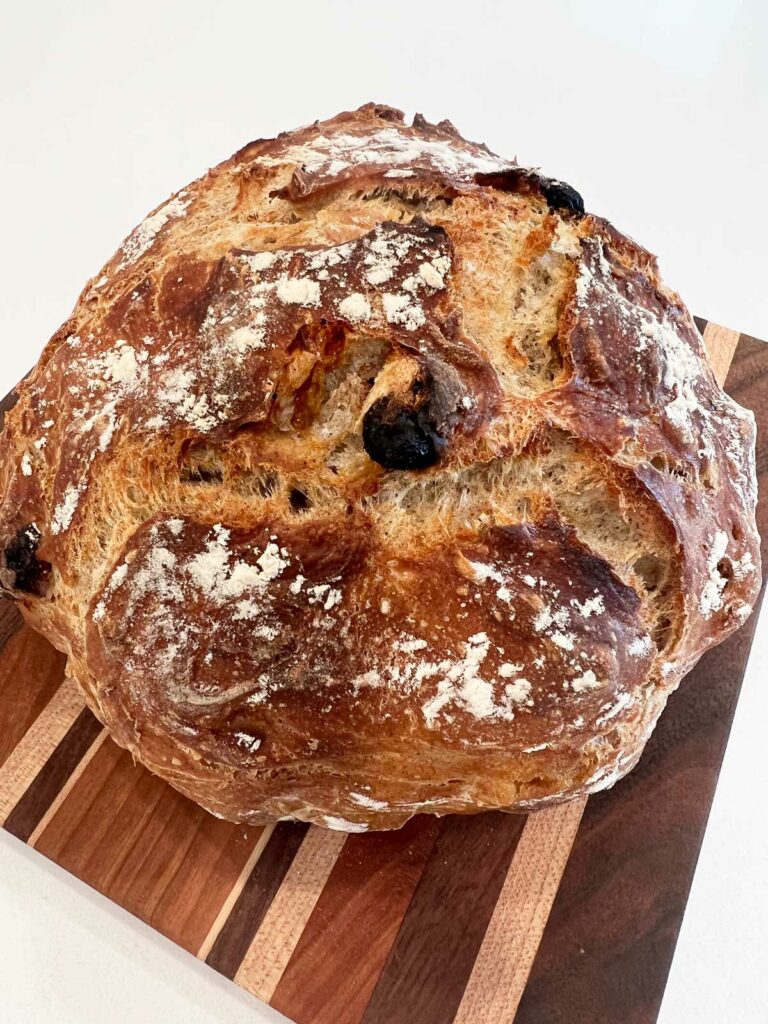

EASY NO KNEAD CINNAMON RAISIN BREAD
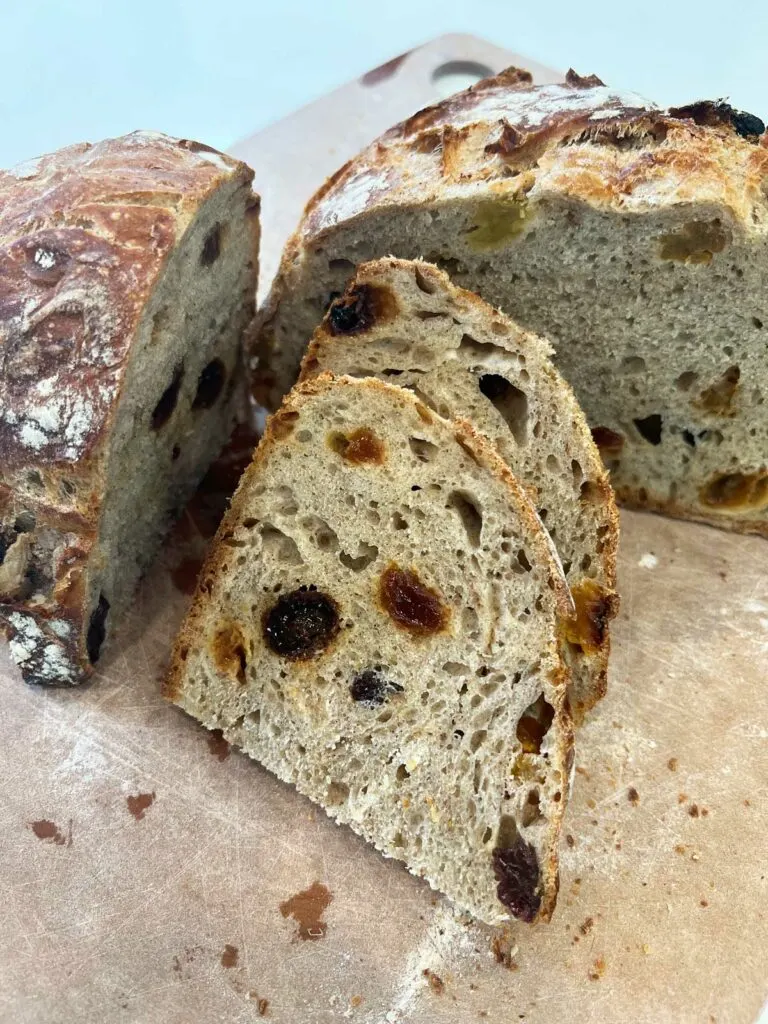
This delicious bread has a delicate cinnamon flavor, plump raisins, and the perfect touch of sweetness. It has a crispy crust and a delectable interior. This is perfect to eat fresh, makes amazing toast, and freezes well!
INGREDIENTS

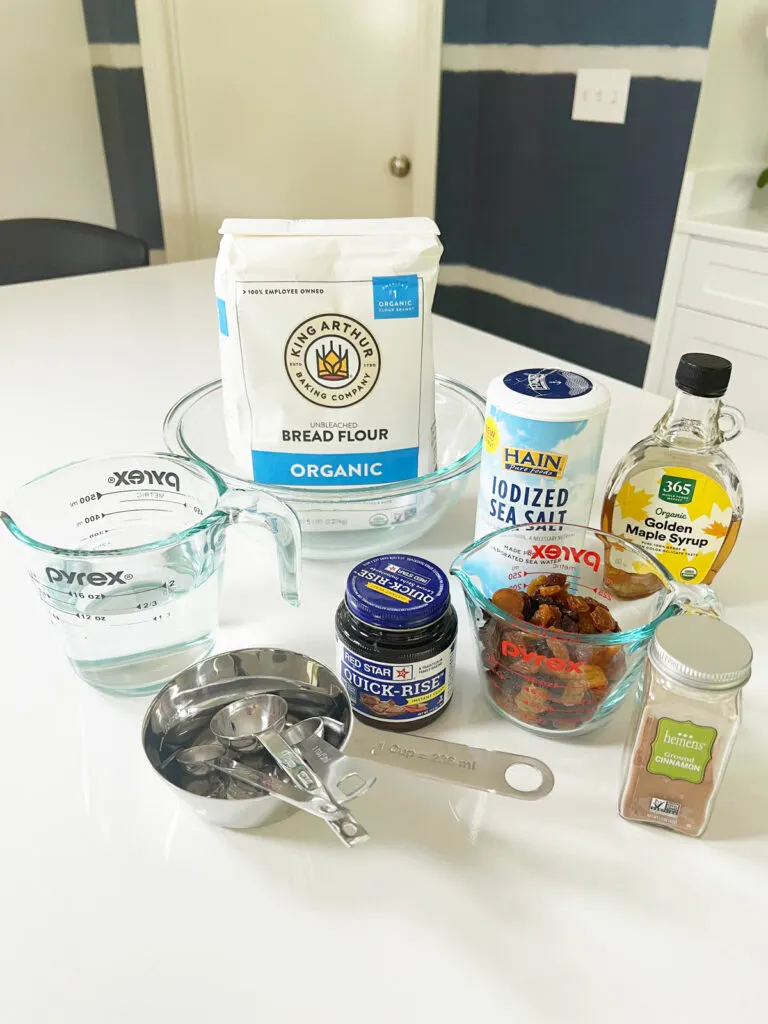
BREAD FLOUR
This recipe uses bread flour, so be sure you don’t use all purpose flour. It will still turn out OK, but is MUCH better with bread flour. Bread flour contains a higher protein content. This will form more gluten in the dough and result in a lighter, chewier interior.
We really love using King Arthur Bread Flour (link to Amazon) and use this exclusively for bread-making. We actually prefer organic King Arthur Bread Flour if you can find it.
DRY YEAST
We like to use Red Star Quick-Rise Instant Yeast for this bread.
COLD WATER
One of the reasons we love this recipe is that it uses cold water. There is no need to measure the temperature with a thermometer like many other bread recipes.
SEA SALT
We love Baleine Fine Sea Salt, but you can use any fine sea salt or even plain table salt that you have on hand. Just don’t use coarse salt.
CINNAMON
The ground cinnamon really gives this bread a beautiful flavor. Use a good quality ground cinnamon because it makes a difference!
RAISINS
We love using plump mixed raisins. These are really delicious, big and juicy raisins, but you can use any plain old raisins or even golden raisins. Choose your favorite.
MAPLE SYRUP OR HONEY
It’s delicious with both, but we really love it with pure maple syrup. Don’t use fake maple syrup…only pure maple syrup!
KITCHEN TOOLS AND EQUIPMENT
Besides a fork and a bowl or two, here is what you’ll also need to make this bread.
DUTCH OVEN
This recipe requires a dutch oven pot and it’s a very important part of the baking process. Why do we use one?
You will partially bake the bread with the lid closed on the dutch oven. This will cause water to evaporate from the dough and allow the bread dough to rise beautifully.
You’ll then finish the end of the baking with the lid off, and this is when you’ll get a beautiful crust on your bread.
We love using either a 4.5 quart Le Creuset dutch oven, or a 3.5 quart dutch oven. If you have another brand, that’s perfectly fine as well, but we love our Le Creuset pots!
They’re not only amazing for bread making, but also as a multi-purpose pot for your stovetop.
MEASURING CUPS
You’ll need a set of measuring cups to measure out the flour, and a 1 cup or 2 cup Pyrex Prepware measuring cup for the water.
MEASURING SPOONS
A set of measuring spoons is needed to measure the dry yeast.
PARCHMENT PAPER
You’ll need a sheet of parchment paper for the bread dough to rest on in your dutch oven. We prefer unbleached parchment paper sheets.
KITCHEN SCALE (OPTIONAL)
A kitchen scale is optional, but it helps to weigh out the exact amount of flour so your bread turns out consistent. If you don’t have a kitchen scale or don’t want to purchase one, you can simply spoon the bread flour into your measuring cups little by little, and then level it off with a knife.
Don’t dip the entire measuring cup into the flour. This will result in too much flour because it will be more densely packed. This will result in a much denser bread texture!
HOW TO MAKE NO KNEAD CINNAMON RAISIN BREAD
Into a medium to large bowl, weigh out 460g of King Arthur Bread Flour. If you don’t have a kitchen scale, measure out 3 cups of flour. Measure your flour by spooning flour into your measuring cup little by little, and then leveling it off with a knife.
(If you dip the entire measuring cup and collect an entire cup of flour at once, you’ll have more flour than you need, and this will alter your bread’s texture.)
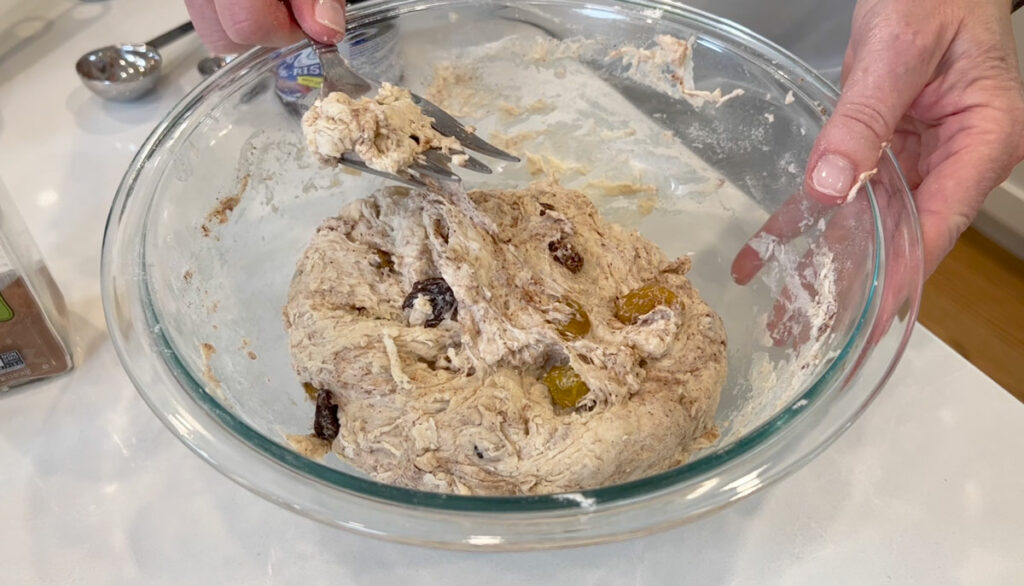
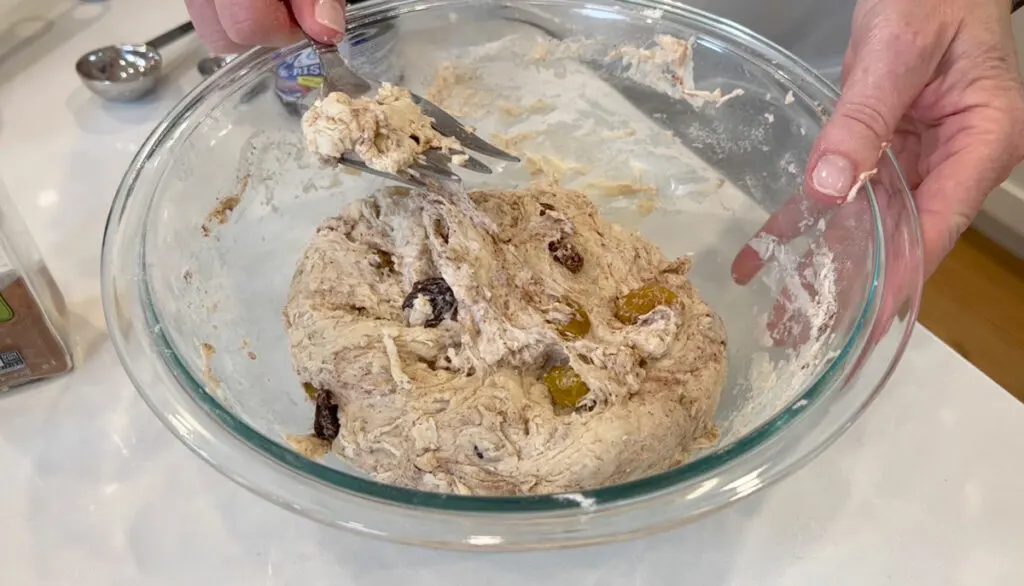
Next, to the same bowl, add 1/2 teaspoon Red Star Quick-Rise Instant Yeast, 1 heaping tablespoon of good quality cinnamon, 1 teaspoon fine salt, 1 cup of raisins, and finally 1 1/2 cups of cool water.
Now it is time to combine all your ingredients. Take a fork to mix everything up, making sure to scrape the sides of the bowl. Keep stirring with your fork until all of the flour is incorporated and there is no visible dry flour left.
It is not necessary, but if you prefer to use a stand mixer like a Kitchen Aid mixer, you can measure out all the ingredients into the built-in bowl and use the dough hook attachment on low to medium speed until all ingredients are incorporated.
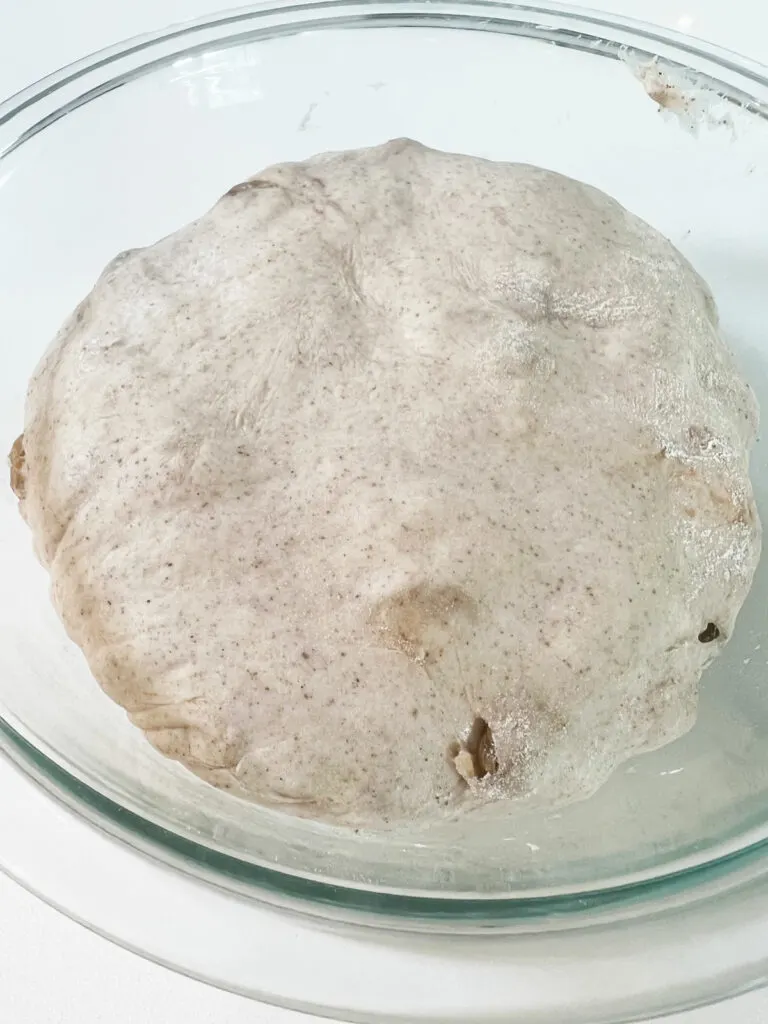
ALLOW DOUGH TO RISE
Next, cover your bowl loosely with some plastic wrap, or even with a silicone bowl cover which are washable and reusable!
Now it’s time for your first dough rise. Allow your covered bowl to sit on your kitchen counter for 8-10 hours.
Easy Peasy Tip #1 – If you’d like to make the bread dough the day before you want to bake it, place the covered bowl in the refrigerator overnight until you are ready to bake it the next day.
If you refrigerate the dough overnight, do this in place of letting it sit on your counter. As soon as you’re done combining the ingredients, place your covered bowl in the refrigerator overnight (for about 12-14 hours).
The next day, after taking the bowl out of the refrigerator, place it on your kitchen counter for at least 45 minutes and up to two hours, in order to let the dough get to room temperature.
FOLD THE DOUGH
Next, it’s time to lightly fold your dough, but before you do that, preheat your oven to 450°F.
Lightly flour a cutting board. Take the bowl that the dough ball is in and start to turn it upside down over the cutting board. Use one hand to set the dough ball free onto the cutting board.
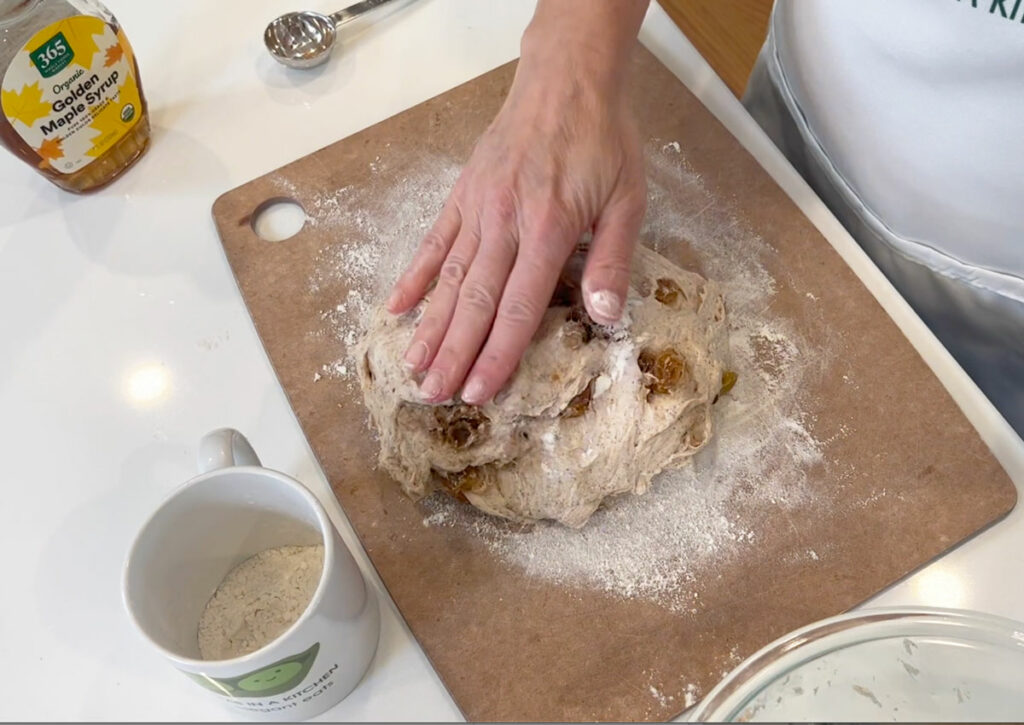

Grab one edge and gently stretch the dough ball maybe 2-3 inches.

Keep going around the entire dough ball until you’ve lightly stretched the whole perimeter.
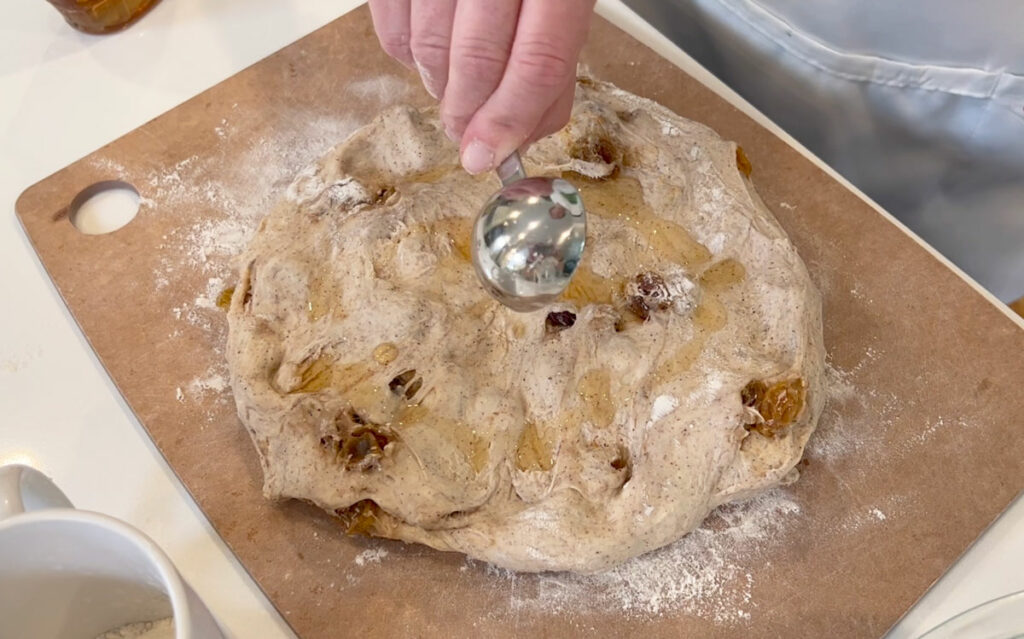
Next, take a tablespoon of pure maple syrup (or honey if you’d like), and drizzle it all over the middle, keeping it away from the edges.

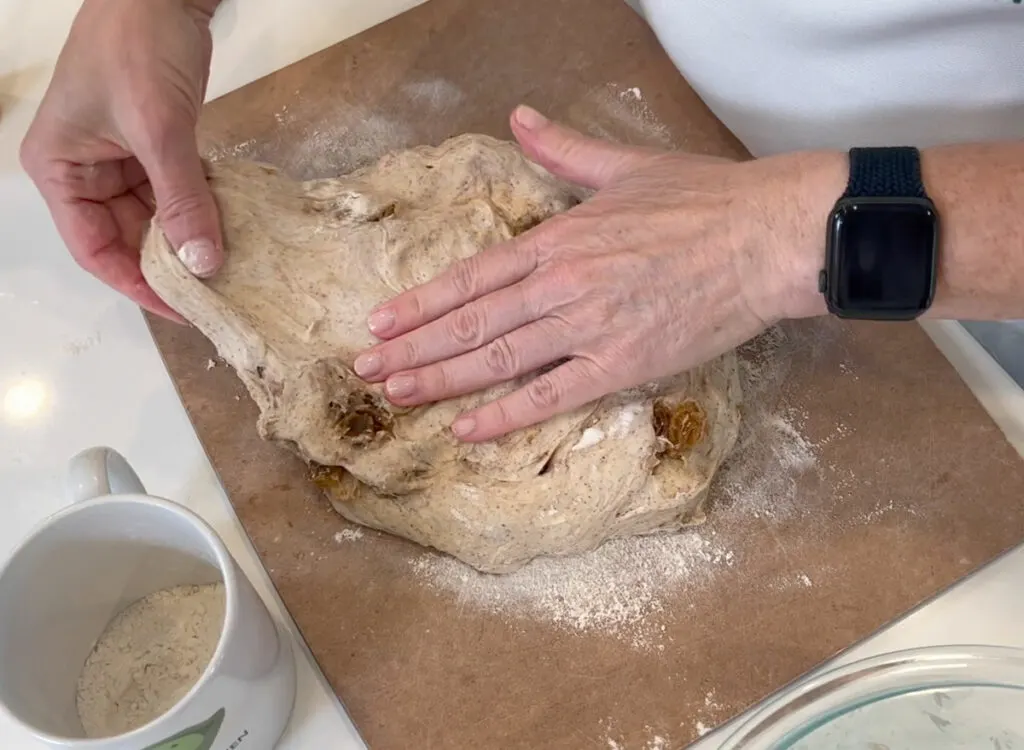
Now, grab the edge of your dough again, stretch an inch or two, and then move it to the middle of the dough ball and press lightly in the middle.
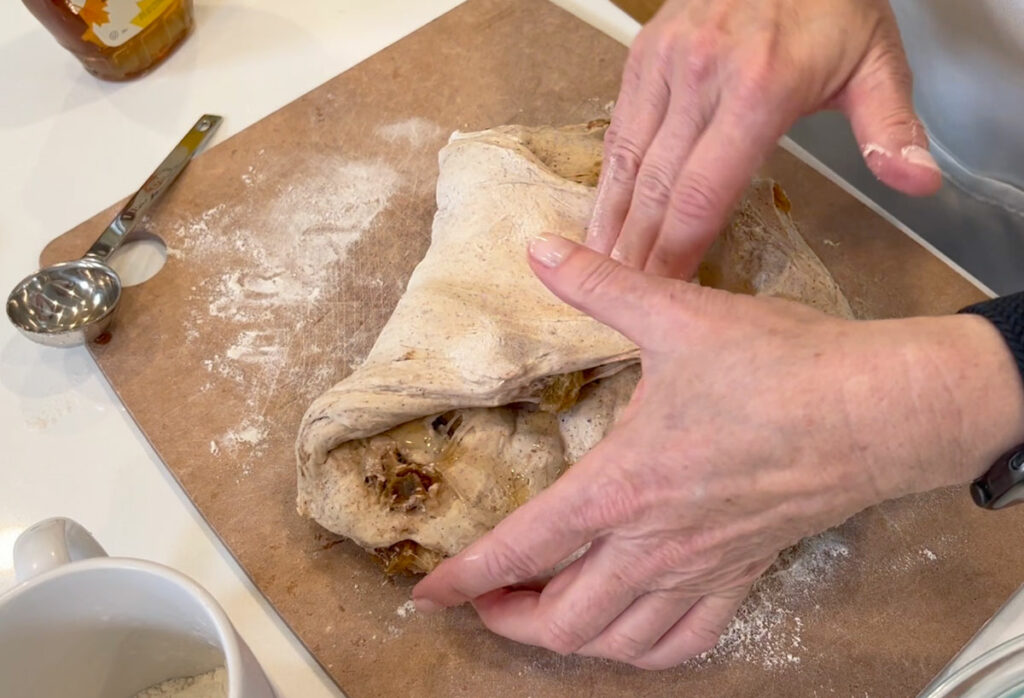

Keep going this way around the whole perimeter until you’ve folded the entire dough ball into the center.
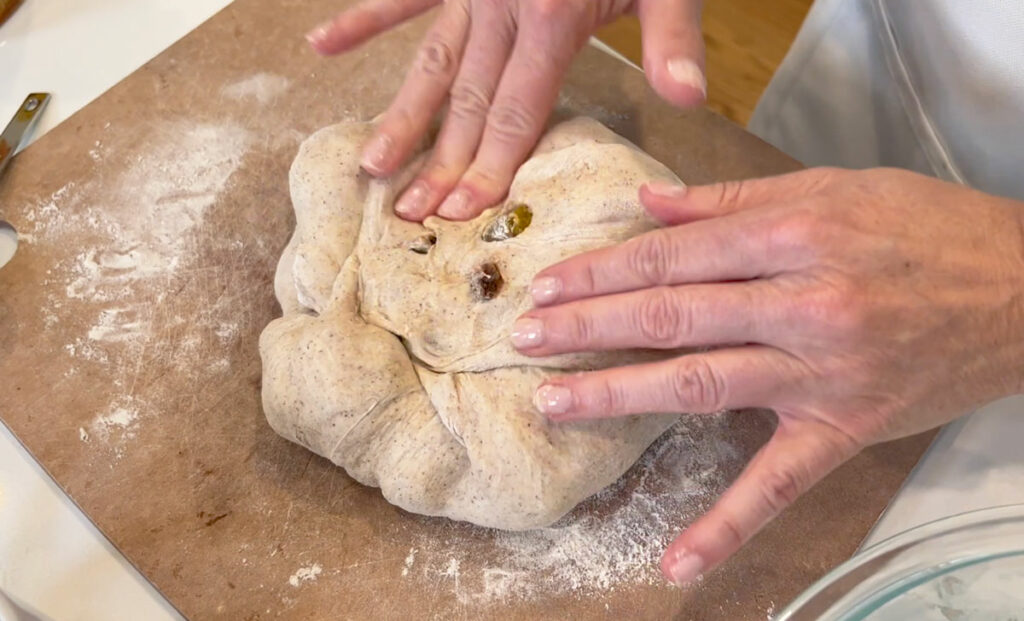
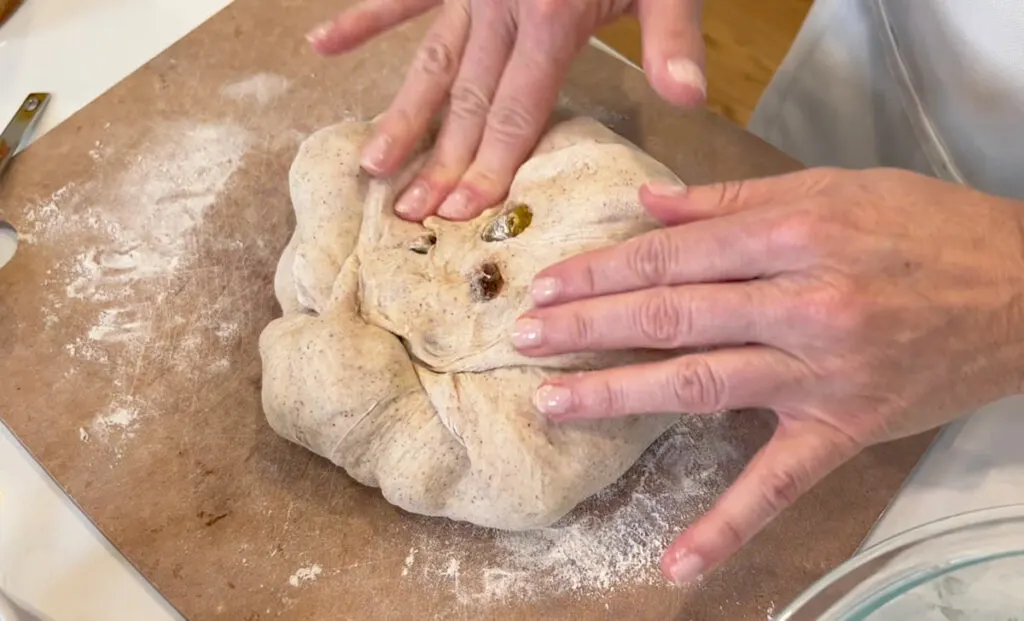
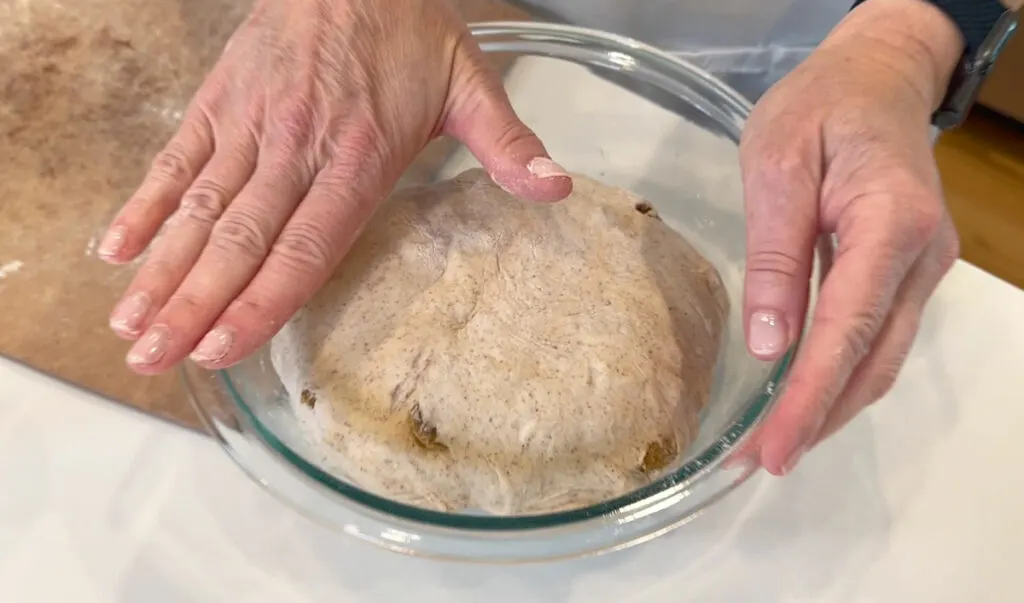
Gently grab the dough ball with both hands, turn it upside down, and place back into your bowl.

Take your dutch oven with the lid on, place onto the middle rack of your oven, and set your oven temperature to 450°F to preheat.
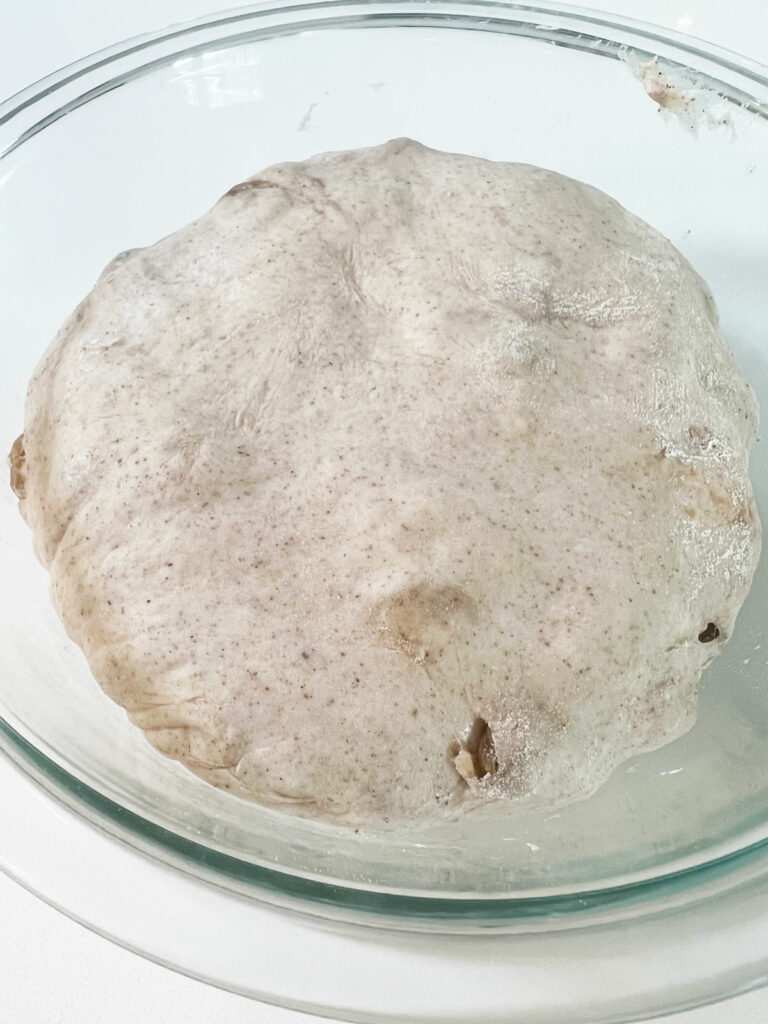
SECOND RISE
Cover the bowl with plastic wrap again, or with your silicone cover, and let it rise on your kitchen counter for 45 minutes.
PREPARE FOR BAKING
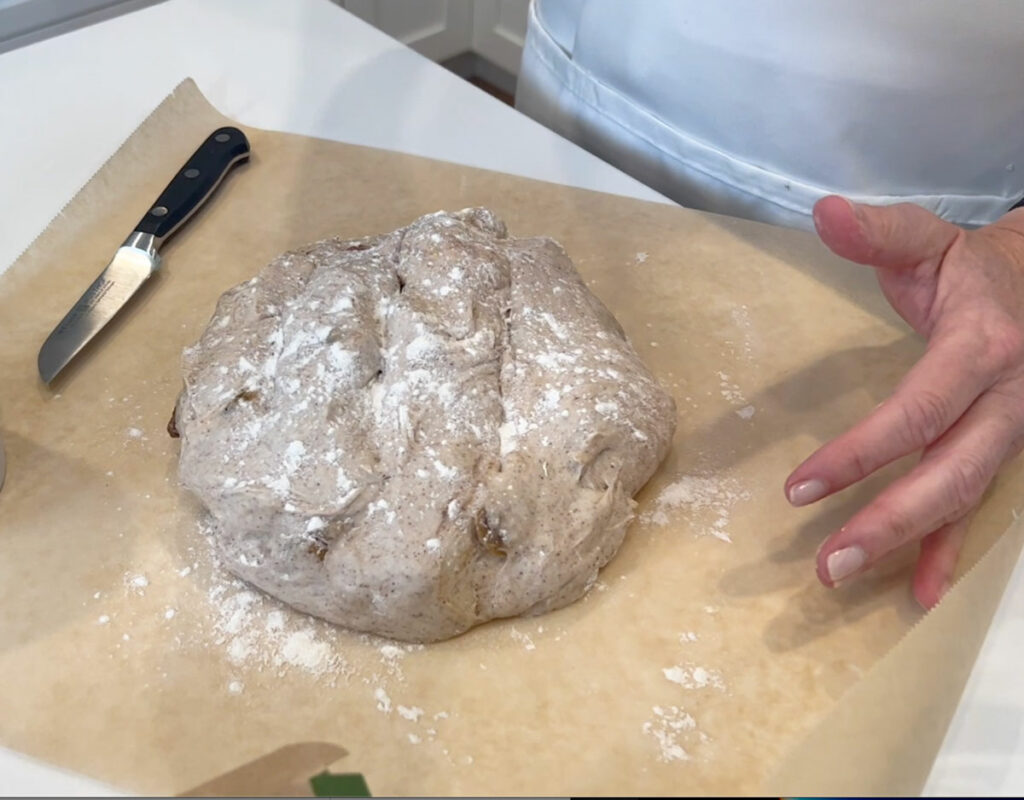
Onto a lightly floured piece of parchment paper, turn your bowl upside down, and let the dough ball plop onto the middle of the parchment. You may need to use one of your hands to gently release the dough ball.
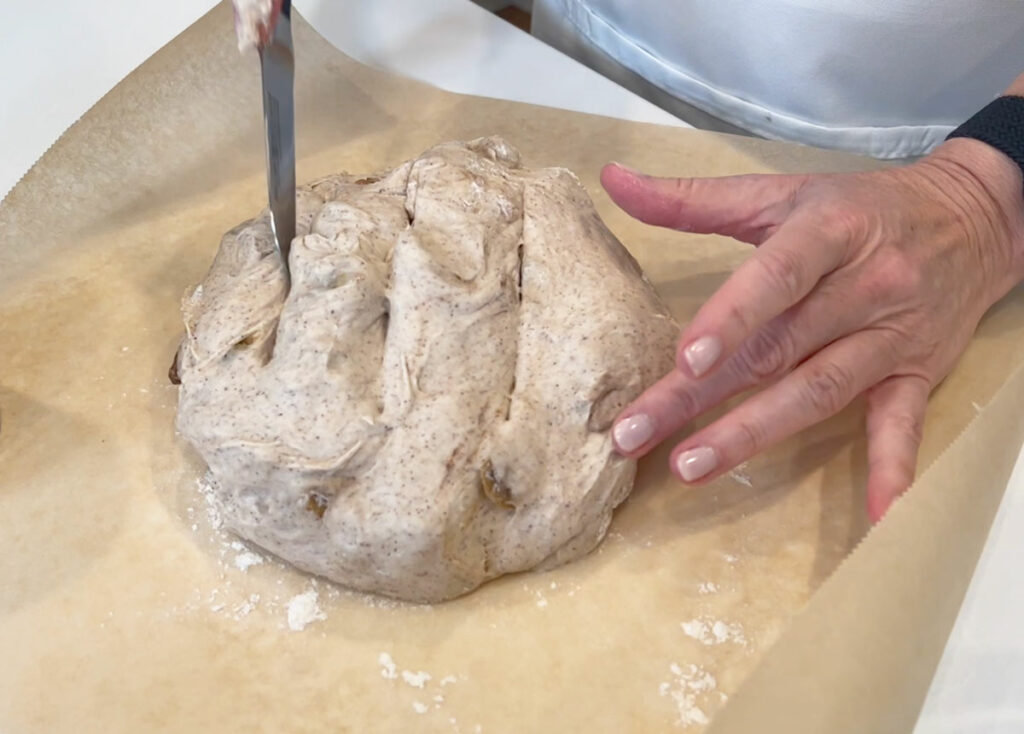
This step is optional but it makes the bread very pretty once it is baked. Take a small, sharp knife and make three long cuts, about 1/2 inch deep or so.

Lightly sprinkle some flour on top.

BAKE YOUR BREAD
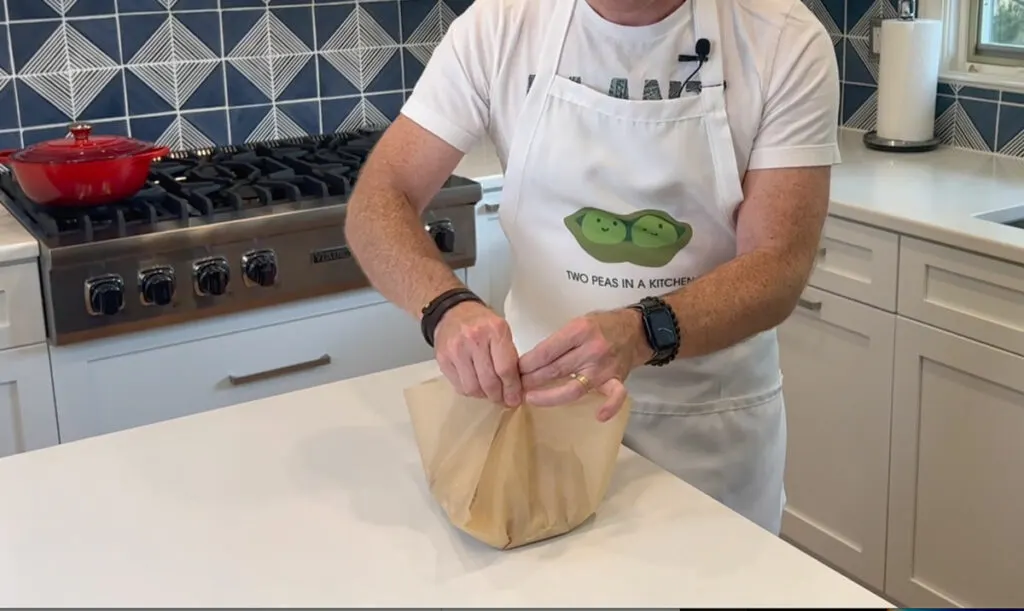
Next, grab each corner of the parchment one at a time and pinch them over the dough ball so you can carry it to the oven.

Open your oven, remove the lid to the dutch oven and drop the dough ball (parchment paper and all) into the hot dutch oven.
Carefully move the edges of the parchment to the sides so it’s not covering the dough, and then place the lid back onto the dutch oven.

Close your oven door and let it bake for 30 minutes. This is what it looks like at this point.
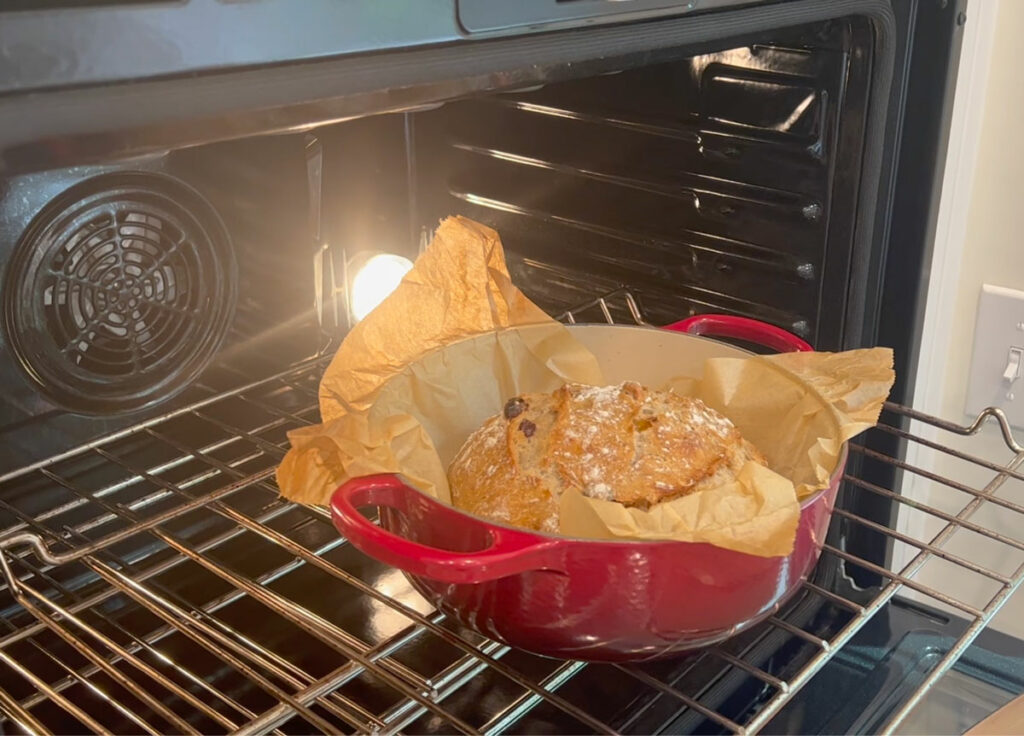

Then remove the lid from your dutch oven and bake for an additional 10 minutes without the lid.
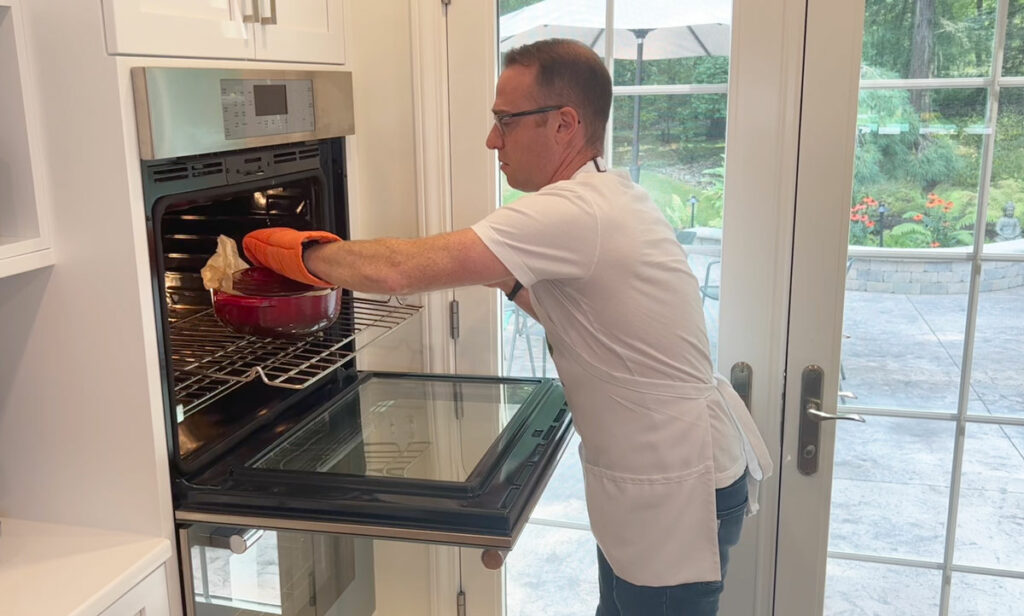
After 10 minutes is up, take the dutch oven out of your oven. Lift the bread out by carefully grabbing the edges of the parchment paper.
Slide your fresh bread off the parchment paper and onto a wire rack. Allow to cool to room temperature before slicing.

STORING YOUR BREAD
Your dutch oven cinnamon raisin bread is best eaten fresh the same day, but you can also store it in the refrigerator for a few days so you can use it for toast, or freeze it in chunks so you can use it whenever you’d like!
Easy Peasy Tip #2 – Freeze your bread for longer storage. Make sure your loaf is completely cooled. Cut the loaf into quarters or thirds, and place in freezer bags and throw them in your freezer.
Anytime you want to take your frozen bread out to eat, remove a bag out of the freezer, allow it to sit on your counter for an hour or so. Then place the bread right onto the middle rack of an oven that has been preheated to 400°F for about 10 minutes.

Cinnamon Raisin Bread
A delicious, homemade, artisan quality cinnamon raisin bread loaf.
Ingredients
Instructions
- Into a medium to large bowl, weigh out about 460g of King Arthur Bread Flour. If you don't have a kitchen scale, measure 3 cups of flour by spooning the flour into a measuring cup and leveling it off with a knife.
- Into the same bowl, add 1/2 teaspoon Red Star Quick-Rise Instant Yeast, 1 heaping tablespoon of ground cinnamon, 1 teaspoon fine salt, 1 cup of raisins (plump mixed raisins, or any that you like), and finally 1 1/2 cups of cool water.
- Take a fork and mix everything up. Scrape the side of the bowl and keep stirring with the fork until all of the flour is incorporated and there is no visible dry flour left. (If you have a stand mixer, you can use the built-in bowl and dough hook attachment instead on low to medium speed).
- Loosely cover the bowl with plastic wrap, or use a silicone bowl cover, and allow it to sit on the kitchen counter for 8-10 hours. Or instead, you can place the covered bowl in the refrigerator for 12-14 hours overnight.
- Next, if you've left the dough on the counter, you can start folding the dough right after the 8-10 hours. If you've refrigerated the dough, take it out of the fridge, allow it to sit on the counter for 45 minutes (or up to 2 hours) and then you can fold the dough. To fold the dough, and proceed with the following instructions.
- Lightly flour a cutting board, turn the bowl with the dough upside down to gently plop the dough on the cutting board (you may need to use your hand to release the dough ball.) Grab one edge of the dough and stretch it maybe 2-3 inches. Keep going around until you've stretched the entire perimeter of the dough. Take a tablespoon of maple syrup (or honey, if you'd like instead) and drizzle it all over the middle of the dough disk, but keep it away from the edges.
- Grab the edge of the dough again, stretch it an inch or two, and then move it to the middle of the dough ball and press lightly in the middle. Keep going this way until you've folded the entire perimeter of the dough ball into the center.
- Gently grab the dough ball with both hands, turn it upside down, and place back into the bowl. Cover bowl back up with plastic wrap or your silicone bowl cover.
- Take your dutch oven (with the lid on) and place it onto the middle rack of your oven and set oven to 450°F to preheat.
- While your oven is preheating, allow your bowl to sit on the kitchen counter for 45 minutes.
- Onto a lightly floured piece of parchment paper (about 12x16 inches), turn the bowl upside down and allow the dough ball to plop onto the middle of the parchment. You may need one of your hands to gently release the dough from the bowl.
- Take a small, sharp knife and make three long cuts on top of the dough ball. They should be about 1/2 inch deep or so. Sprinkle a little flour on top of the dough.
- Grab each of the four corners of the parchment paper and pinch them together on top over the dough. Carry it carefully to your oven. Open the oven door, remove the lid to the dutch oven with an oven mitt, drop the dough in (parchment paper and all). Spread the four corners of the parchment paper so that it's not covering the dough ball (it's ok if it extends beyond the rim of the dutch oven), and put the lid back on top of the dutch oven. Close the oven door and bake for 30 minutes.
- After the 30 minutes, remove the lid from the dutch oven and bake for an additional 10 minutes without the lid. You should have a nice, golden brown crust.
- Take the dutch oven out of your oven. Lift the bread out by carefully grabbing the edges of the parchment paper.
- Slide the fresh bread off the parchment and onto a wire rack. Let cool completely before slicing.
Notes
For the parchment paper, we like to use half sheets of unbleached parchment paper that are 12x16 inches or 13 x 16 inches. You can use rolls too where you cut them, but the sheets really come in handy!
This bread is best eaten fresh, and can stay on your kitchen counter for up to 3 days at room temp. Or you can refrigerate it for up to a week and slice it for toast.
For longer storage, after it has cooled to room temperature, cut the loaf into quarters or thirds and place each segment in a freezer bag. Take out of the freezer when you are ready to use it, let it sit on the counter for an hour. Take the bread out of the bag and place it right on the center rack of a 400°F oven for 10 minutes.
Nutrition Information:
Yield: 18 Serving Size: 1Amount Per Serving: Calories: 58Total Fat: 0gSaturated Fat: 0gTrans Fat: 0gUnsaturated Fat: 0gCholesterol: 0mgSodium: 120mgCarbohydrates: 14gFiber: 1gSugar: 6gProtein: 1g
Nutrition values are merely estimates and aren't always accurate.
We hope you’ve enjoyed this recipe! If it’s the best cinnamon raisin bread that you’ve ever made, make sure to leave us a comment and share your thoughts with us!